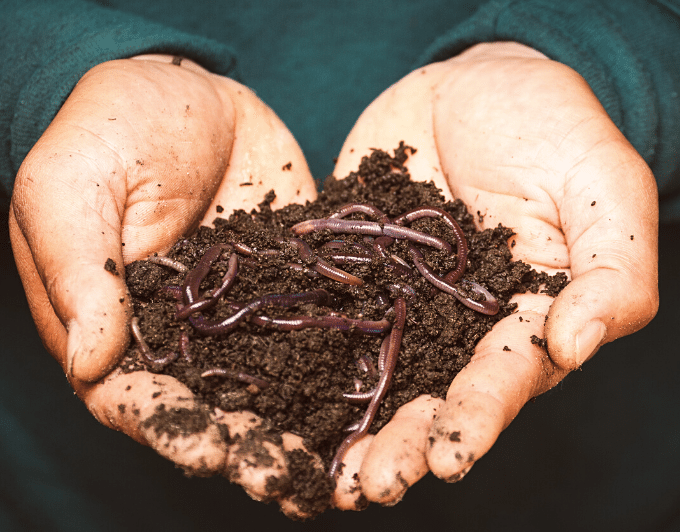
What is vermicomposting?
Vermicomposting, or composting with worms, helps you keep a compact, non-smelly, and fully contained compost bin, even without the benefit of a large space or a backyard.
How do you compost with worms?
Not all worms are alike. The worms that do a stellar job of eating your leftover food scraps and pooping out the world’s best natural fertilizer are called red worms (Eisenia fetida, aka red wigglers). When you compost with worms, you create a happy environment for red worms to do their thing—eat voraciously, turning your food scraps into brown gold.
 We think vermicomposting is the best system for the majority of home composters because worms like to eat what we eat, are happy to eat plant trimmings, and can be made comfortable in a wide variety of locations, such as inside the house, in the garage, or on the porch.
It’s the perfect choice for urban dwellers with small spaces and mountain folks worried about attracting animals with outdoor compost bins. It’s also easy to do with our DIY worm compost bin guide!
DIY: How to Make Your Own Worm Compost Bin
While worm bins are available online for anywhere from $50–200, you can make your own bin for a fraction of the cost using two inexpensive plastic storage bins! (Note: If you decide to build your bin out of wood, don’t use treated wood or toxic finishes. Finishes can contaminate your compost.)
To make your own worm compost bin, you will need:
1) Two 14-gallon storage boxes (we use a Rubbermaid® Roughneck® tote). You want to match the size of the bin to the amount of food scraps you generate: Allow 3 square feet of surface area in your bin for every pound of food scraps you generate per day. Also, make sure your bin is at least 10″ deep. Generally, a typical 10-gallon storage box is a good fit for a two-person household.
You’ll need one box for the food scraps and worms, and another box to catch the drippings, or compost leachate, underneath.
2) One lid. Worms require darkness, so you will want a lid to perfectly cover one of your bins.
3) A drill. Worms need oxygen, so you will need to drill holes in your lid and in the bottom of one of your boxes. The holes in the bottom of Box 1 will also serve to drain excess moisture. You want five holes for every square foot of feeding surface area inside. A 1/4″ drill bit is a good size. If you’re using a 10-gallon storage box, 12 holes in each will work well.
4) About 1,000 worms—or 1 lb. Yes, it sounds like a lot, but it’s actually the perfect amount for this compact, food-scrap-heavy bin.
Setting Up Your Bin
Have your bin ready before the worms arrive. Create a layer of bedding several inches thick using strips of moist newspaper. Mix in a small amount of soil or finished compost for the worms to ingest into their gizzards—they need this to digest their food. Then add a small amount of food scraps and watch them go to work!

