Create the best soil amendment right in your own backyard.
Composting is easy. After all, it’s the Earth’s very own “Zero Waste System” for breaking down and recycling dead plant matter and turning it into nutritious soil. It happens naturally on forest floors and, with a few simple steps, can happen in your own backyard. All you have to do is set up an ideal environment to accelerate the natural decomposition process to create your own organic, nutrient-rich compost.
Why start your own compost pile?
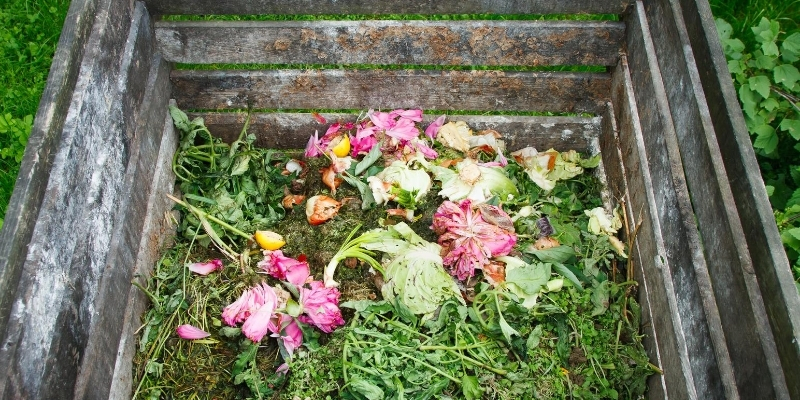
In addition to creating one of the best soil amendments around, composting has a multitude of benefits for the environment, including reducing water usage and drawing down carbon in the atmosphere.
Compost creates healthy soil by:
- suppressing plant diseases and pests.
- reducing or eliminating the need for chemical fertilizers.
- promoting higher yields of agricultural crops.
Compost saves water by:
- improving water-holding capacity and erosion control.
- improving drainage and permeability.
Compost draws down carbon by:
- building healthier soils that grow healthier plants
- growing healthier plants that absorb more carbon dioxide from the atmosphere
- storing carbon safely in the soil where it belongs.
How to Compost, Step by Step
Step 1: Get a bin.
Obtain a bin or an area outdoors that is approximately one cubic yard (3′ x 3′ x 3′). Size is important for the proper temperature. Piles that are too small cannot hold enough heat for effective microbial activity. Piles that are too large (more than 5 cubic feet) do not allow enough air to reach microbes in the center of the pile.
Step 2: Mix your browns and greens.
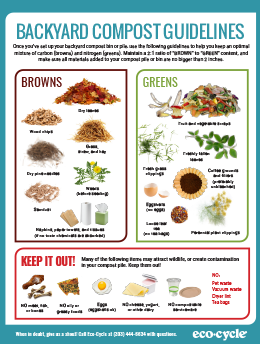
Mix two parts “brown” materials (dry leaves, small twigs, straw, etc.) with one part “green” materials (grass clippings, kitchen scraps, etc.). This 2:1 ratio provides the best mix of carbon (browns) to nitrogen (greens). Note that these terms are not to be taken too literally: Browns can sometimes be green (such as cardboard with a green color printed on it) and greens can be brown (such as coffee grounds)! They refer to the nature of the material more than its color; browns are dry and fibrous, whereas greens are softer and moist.
Step 3: Chop!
Chop or break up any twigs and large pieces of fruit and vegetable waste. Materials will break down faster with increased surface area.
Step 4: Keep it moist.
Water your compost as often as necessary to keep it moist—it should feel like a wrung-out sponge.
Step 5: Turn it.
Compost needs air. Turning the compost anywhere from every few days to every few weeks will help it break down and will prevent unpleasant smells. Smelly compost is an indicator that it needs turning.
Step 6: Collect your compost!
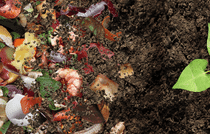
When it is ready, your finished compost should look and smell like rich soil. Now you can put it to use to feed your garden, flowers, lawn, and potted plants.
What should go in my backyard compost bin?
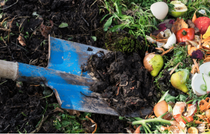
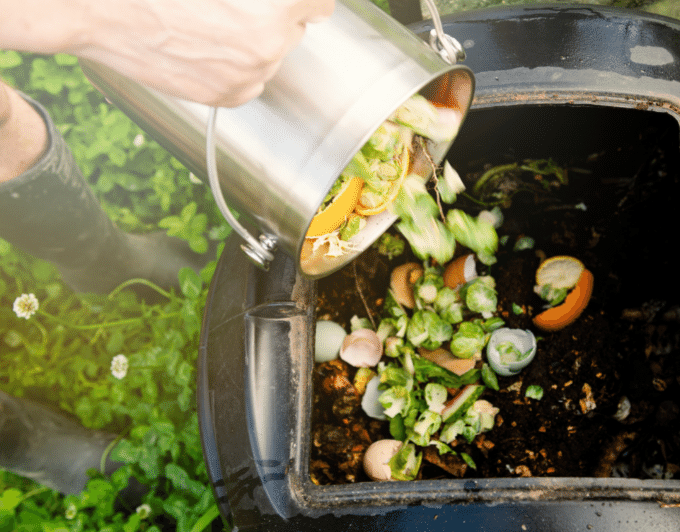
Greens: Fruit and vegetable scraps, coffee grounds, fresh grass clippings, and plant scraps.
Browns: Dead leaves, cardboard (such as pizza boxes), dry grass clippings, egg shells, and shredded newspaper.
Chopped-up pieces of greens and browns work best!
What should not go in my backyard compost?
Here’s a list of items to avoid in your backyard compost bin:
- Bones don’t compost quickly enough—they’ll be there for years!
- Meat attracts nuisance animals, also known as vectors.
- Eggs attract vectors, but eggshells by themselves are okay, as they provide a slow-release source of calcium.
- Cheese and other dairy products attract vectors.
- Oils are okay in small quantities, such as the amount you’d consume in a meal, but pouring in greater amounts of oil will slow down decomposition in the pile.
- Excrement from dogs, cats, and other household pets can contain human pathogens—but a small amount of livestock manure is okay.
- “Compostable” products, such as plant-based plastics, are NOT designed for backyard composters. Backyard compost bins do not get hot enough to break down these products.
Note: Animal products such as meat, bones, eggs, and dairy, as well as BPI-certified compostable products, are more suitable for industrial/curbside composting.
How to Use Your Compost
Flowers and Vegetables
Work half an inch of mature compost into the top six inches of the soil with a garden fork or rototiller. Be sure that the soil isn’t sodden with water as this can result in an “adobe effect” when it dries, which adversely affects the plants.
Perennials
Use compost as mulch to gradually improve the soil. Apply it an inch or so deep between the plants.
Seedlings or Potted Flowers
Use 20% mature compost in the soil mix (if the mix you purchased doesn’t already contain compost or worm castings).
Lawn
Sprinkle 1 ∕ 8 to 1 ∕ 4 inch of fine compost evenly across the grass. This will improve the lawn’s ability to use fertilizers more efficiently so that less is needed in the future. If you do fertilize your lawn, consider using one of the natural products based on recycled dried poultry wastes (often listed as “DPW” on the ingredient list) rather than synthetic chemicals.
Indoor Plants
Add small handfuls to the surface of the soil inside the pots. It will break down over time and provide nutrients as it decomposes.
